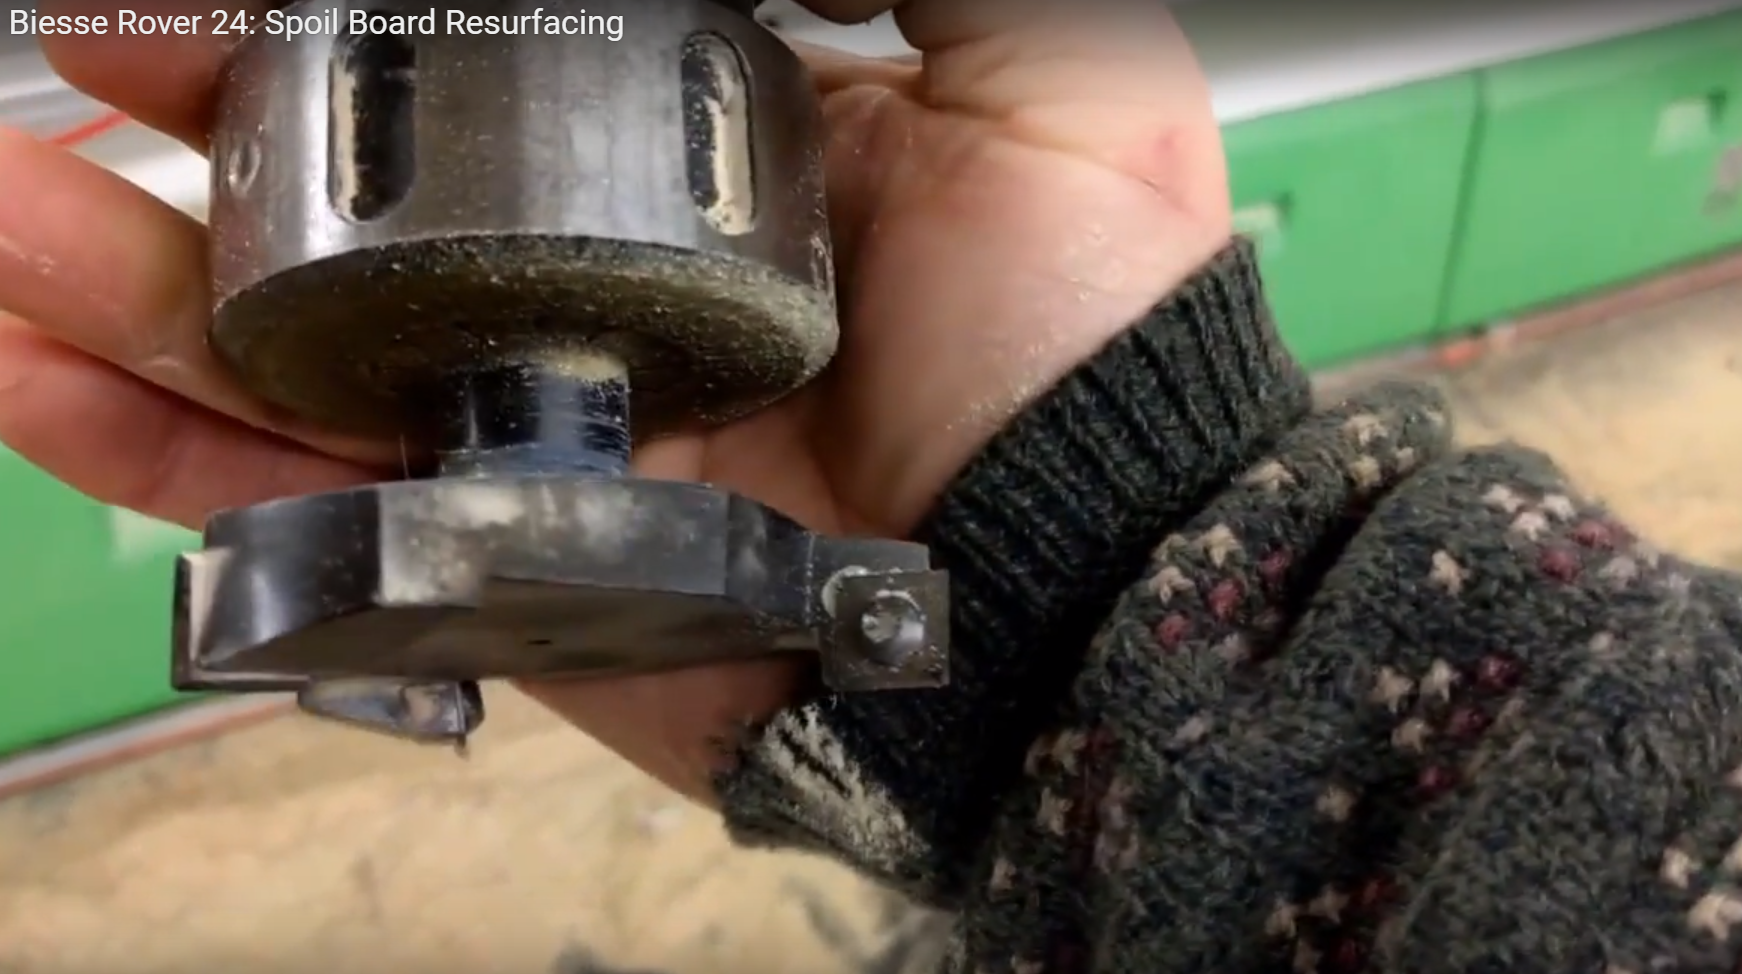
Here is the process for resurfacing the spoil board on a Biesse Rover 24 with a 4′ X 10′ vacuum table. I use a 75mm surfacing tool. I will show you how to set the spoil board thickness and how to resurface it with one pass. In this video I show taking 2.5 mm off the spoil board.
In general I run bits only .002 below the bottom of material. Most times we can go months without having to resurface the spoil board. But in this case I had two issues. One is that I am training a person to write code and he set the tool depth too low. Also, I started cutting plastic (acrylic) with a 1/2″ O-Flute bit and didn’t have the tool holder set right.
Anyhow…it is a perfect opportunity to show you guys and gals how to resurface the spoil board!
Please like the video and share it with anyone you think might benefit from it!
Be well!
Lee
Video Transcript Follows:
00:05 Hey YouTube! Here is a video about resurfacing the spoil board or the Biesse
00:14 Rover 24.
00:18 Here is our spoil board. And occasionally we get some deep grooves because tooling
00:25 isn’t set right or the tool holders are not measured properly and that’s all my
00:30 fault because I should know all that stuff. But occasionally too we have to
00:34 cut a little deeper because of the material of plastic edge we get a better
00:40 edge if we cut a little bit deeper and that’s actually what all these are. This
00:44 is a new bit that I haven’t used before. A new style bit it’s an O-flute, half
00:50 inch O-flute and I wasn’t quite sure. We got some fantastic cuts out of it but
00:55 I ruined the spoil board in the process, so I’m gonna go ahead and redo this spoil
01:00 board and the bit I’m gonna use, it’s a huge bit, let me move this over. I’m going to
01:05 go to manual movement and then I’ve already home the machine and we run a
01:11 warm-up. I’m gonna go down here and I’m gonna push, if i push just this… it’s
01:17 gonna move in the x-axis so it’s gonna move the whole machine, so you see. Like
01:25 that. I don’t know if you can see it moving if I push this button and this we
01:32 push this first and then this watch what happens… it’s a quick move. So but I want
01:40 to bring the head closer to me but I want to move it in the y-axis. So I’m
01:45 gonna go ahead and do the same thing. I all I did here was I clicked on this you
01:51 can pick from either X Y Z or the tool cradle. I’m gonna pick Y I’m gonna push
02:00 this and the I’m gonna push this and this… while
02:06 we’re looking at the machine I’m gonna bring it to just about there and then
02:13 I’ll show you the tool we’re gonna use here it’s way in the back. So I’m gonna
02:18 do a manual movement of the cradle and again I’m gonna come down here and push
02:27 the plus. If I just push the plus it goes like that fast.
02:34 If I push the squiggly line and the plus it goes the same speed. So I’m gonna
02:42 bring it all the way around twice so I can show you this bit that I’m using.
02:47 This is the surfacing.
02:56 I think it’s an 80 seventy or eighty millimeter, not quite
03:02 sure. It should say up there anyway so that’s what it is. I’m gonna
03:07 put it back in here. As long as I’m in manual movement I need to set the spoil
03:13 board as if it were thinner. So I go down here and my soft key for this spoil board
03:21 is right here so I’m going to push this and watch… as I push this, this spoil board
03:30 window will pop up.
03:34 and as I do that, the jig thickness is the spoil board. I’m gonna change this to
03:45 16.75 … I’m gonna go down two and a half
03:50 millimeters. I’m gonna take a full two and a half millimeters off which is
03:56 pretty drastic. but the spoil board is pretty deep though. Now I’m going to click back on automatic and I’m going to
04:15 select my surfacing program which, I have a surface x-axis and you have to just
04:24 write a program that will go all the way across, back and forth, with a little
04:28 bit of overlap in order to re-level the table. then now we do our standard
04:32 soft key down here. [START] program is loaded
04:38 I’m gonna come down here and push my number one quadrant on my pedestal. I do
04:46 want to suck down so I’ve turned on the compressor vacuum pump and now I got to
04:55 open up the pump to the table and if I’ll try and get this as I hit this
05:00 watch right here it will suck it down. See it sucked it down? That opens up that
05:07 valve and now
05:11 I push this button again.
05:33 There we go.
05:39 Occasionally I have to run this a few times just to get the right depth, let’s
05:44 see if this pass takes off those grooves. Looks pretty good.
05:54 I’m gonna turn on my vacuum pump my exhaust.
06:10 It’s right at the bottom. That should be great!
06:35 All right, then it’ll zoom back to that corner
06:40 I’m going to take this out of the computer’s thought process. See there’s a
06:45 program running. I hit [STOP] + [RESET] + [CLEAR] and now I’ve got my logo again. Now I can
06:54 walk over to the table and see what I got.
07:01 Yeah, that’s pretty good. I mean this I’m not gonna I’m not going to resurface
07:05 this. It’s tight enough that it’ll not lose a lot of air off the side and we
07:12 should get a good bight with
07:21 we should get a good pull for the tools. All right thanks YouTube – Please like this
07:27 video and share it with anyone that you think it might be useful and helpful to,
07:32 and if you subscribe to the channel I’ll be carrying on with more CNC work to
07:40 help people of the community to get a better product so. Alright, comment in the
07:47 bottom if you have anything that you need help with and I’m happy to try and
07:51 help. Thanks much and take care!
******************************************************************
Featured video can be found at Youtube: https://www.youtube.com/watch?v=Na9fMlgCvxw&t=11s